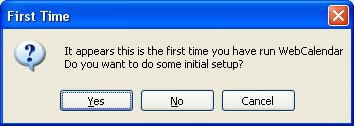
This section is a quick start guide to building a calendar. It assumes you have downloaded and installed the program. The first time you start the program it will show you the following popup.
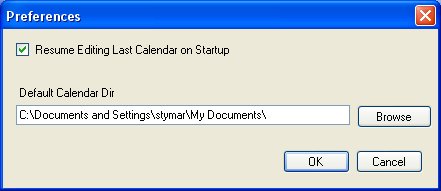
Assuming you replayt Yes, it will bring up the gneral preferences menu to allow you to choose the default place to put calendar files. Calendar files have s suffix of .wcal. Default location is in the "My Documents" folder on your machine.
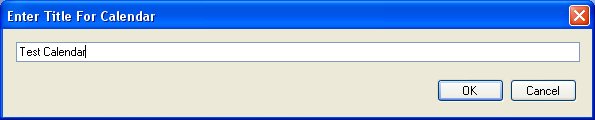
The program will then ask you if you want to create a new calendar. Assuming you press Yes, you will be presented with a save dialog. Pick a file name for the new calendar and press Save

The program will then open the window normally found under Edit->Calendar Title to allow you to enter the title for the calendar. This will go at the top of each calendar web page generated.
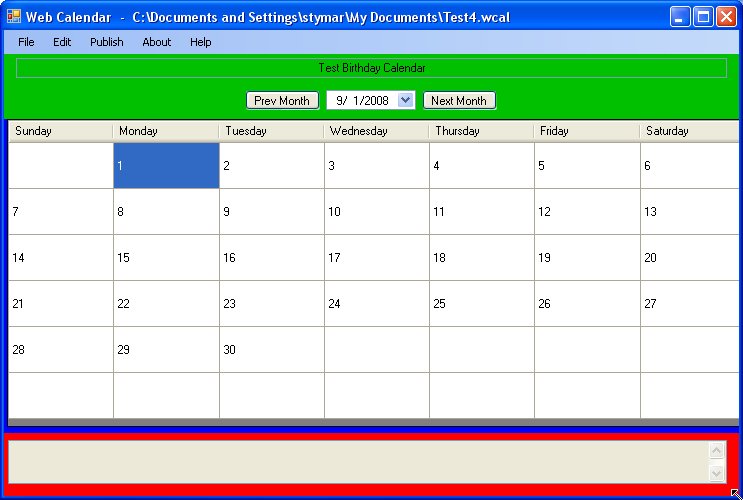
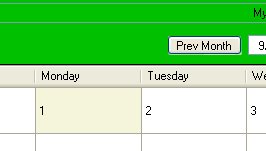
You will then be presented with a calendar for the current month.
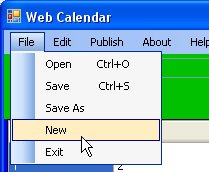
With the left mouse button, select File->New
You will be presented with an open dialog.
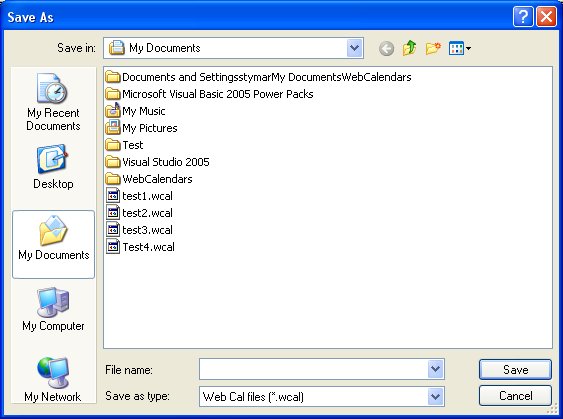
Choose the folder where the calendar will go and choose a file
name for the calendar. The suffix .wcal will be appended to
the file name. The default folder is your My Documents folder.
Press Save and you will be presented with the title dialog.
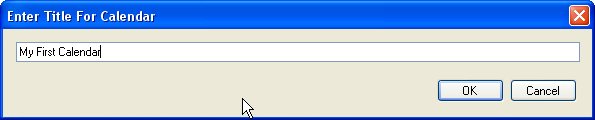
Give the calendar a title and press OK.
You are now ready to start editing the calendar. Double click a
date and you will be presented with the edit window. This is a text
box window similar to that used for Notepad.
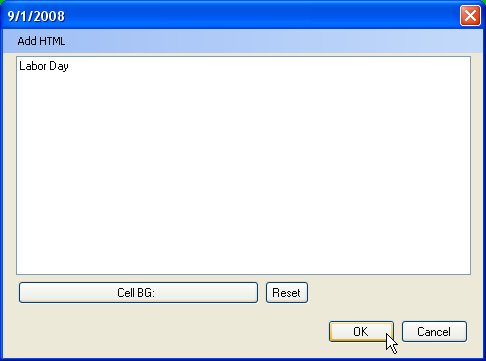
Enter some text and press Enter.
You will notice that the date you just entered changed from background
white to background beige and if you hover over the window you will see the
data you entered.
Edit a few cells to put in some data. You can use the
Next month and prev month buttons to navigate to other months.

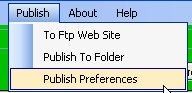
To prepare to publish the calendar, select Publish->Publish Preferences
You will be presented with the following dialog window:
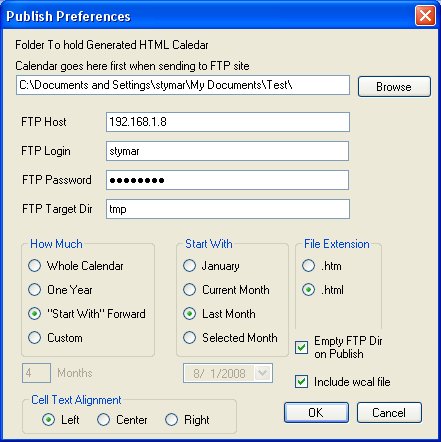
The first box is the local directory the calendar will be generated into.
This can be on your computer or a network attached drive. If you are publishing
to a folder, then
the this is where the generated web pages will go. If you are publishing to
a web site via FTP,
then
the this is where the generated web pages will go. If you are publishing to
a web site via FTP, 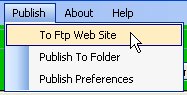 then this is a staging area.
The next entries give the information needed to FTP to the target web directory.

The host, login, and password are pretty obvious. The directory is
set relative to the home directory of the user specified in login. On many
systems this is called public_html. You have to set up the directory to contain
the calendar before you publish.
An Important control on this page is the
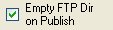 .
.
If checked, all the files in the target directory will be deleted before publishing
the calendar. That is why it is strongly recommended that you put the
calendar in its own directory. Otherwise the tool may delete files you wanted to keep!
If this checkbox is not checked, old entries may accumulate in the directory.
Once these fields are filled in you are ready to publish your calendar. You may want to publish to a folder and look it over first till it looks the way you want and then publish to the FTP site.
If this Getting Started page is not clear, or you feel I left something important out, please drop me a line and I will try to fix it. Bob Styma